
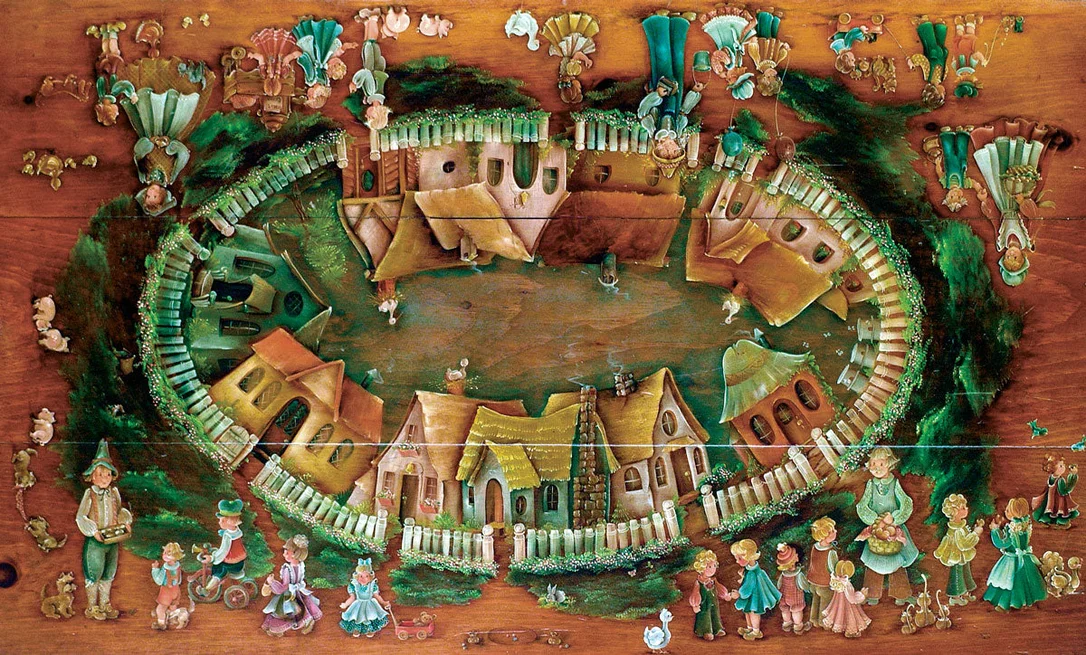
Description
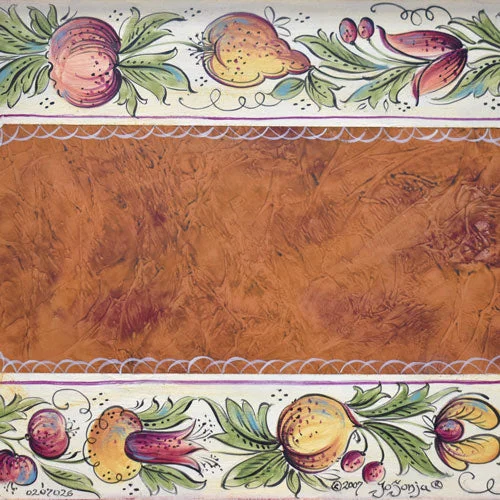
Originally painted in oils, we have taught The Village several times in acrylics and will now give the directions for the acrylic painted version.
Over the years many artists have adapted the design successfully to many pieces. Please enjoy and have fun.
Complete Supply List:
Mediums:
Favorite medium or Magic Mix
Retarder or Gel Retarder
Paints:
Dioxazine Purple – V
Red Violet or Permanent Alizarin Crimson – RV
Napthol Crimson – R
Napthol Red Violet – RO
Vermilion – O
Gold Oxide – toned O
Yellow Deep – Y
Yellow Oxide – toned Y
Olive Green – Toned G
Moss Green -toned YG
Prussian Blue Hue + touch toned Y and Raw Umber – toned B
Smoked Pearl – toned W
Titanium White – W
Brown Earth + Burnt Umber, 2:1, or Raw Umber – Br
Carbon Black – Bk
Flesh mix – toned O + W
Highlight Flesh mix- O + W
Optional: Some medium value hues would make your painting easier. They could be your basic hues + W, or you could add:
Brilliant Violet – V tint
Amethyst – RV tint
Rose Pink – R tint
Sapphire – B tint
Vines or Green Oxide – G tint
Chestnut – Br tint
Brushes:
Jo Sonja’s Sure Touch
#2, 4, 6, 8, 10 flats: Basic painting. Adjust your brush size to the size of the object being panted.
#2 liner: Fine details and lines.
#3-4 round: Basic painting of smaller objects, if you’d prefer.
¾” – 1″ flat, filbert, or oval glaze: Painting sky and antiquing or glazing.
1″ – 1½” flat or large brush: Applying Retarder or Gel Retarder.
1″ mop or bristle blender: Blending out sky and antiquing or glazing colors.
Reviews
There are no reviews yet.